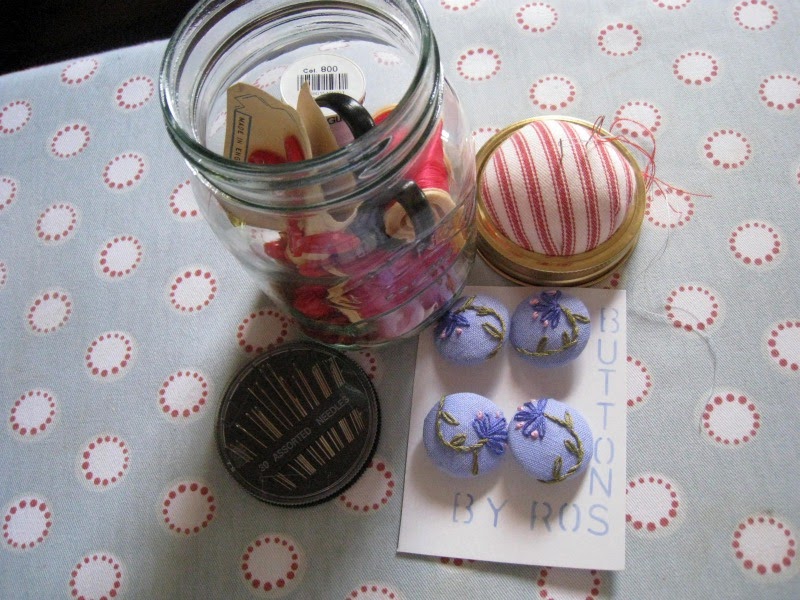
Now you will remember that the quality and capacity of her button jars were legend along with her useful bits of twine collection, however I am wishing that I had kept a hold of her zapped out zip collection because that is just what you are going to need to today to create these edgy, flower corsages or hair barrettes.


Needle and Thread
Scissors... not your good dressmaking scissors
Glue gun
Glue gun
Brooch backing
Felt
Buttons (optional)
Matches or a lighter
Shot glass
Cardboard
 Take your zip and cut the bottom of it off, this may be quite difficult if you use a heavy duty zip but I really like to use these as the flower looks really edgy. Then using your matches, flame the end of your zips to ensure that they will not unravel, a gentle burning will seal them shut.
 Take one side of your zip and fold it to make petals as is shown in the picture.
 Now there are two ways to sew this together with a double thread, you can make all five petals together and hold it in place with a couple of pins... but remember you will be sewing through 10 layers, which is possible although you should know that I managed to stab myself with the needle, so be careful. (I wonder if this counts as an industrial injury?)
 However with the next layer, as the petals will be shorter and therefore there will be more layers so catch each pattern individually. There are a number of ways that you can finish your flower...
With my larger heavy duty zip, I left a couple of inches over at the end and rolled it up like a rose, and oversewed the edges and then sewed it through to the base.
 For the lighter zip, I went through my buttons and beads and sewed them into the centre of the flower.

Cut out two circle of felt using the top of the glass and then one circle from the cardboard using the base of the glass which will be smaller. Sew the larger flower into the centre of one of the felt circles.
Heat up your glue gun and dob your glue on the centre of your big set of petals, then place the smaller set of petals into the middle... then hold it in place of if you are doing several use a clothes peg to hold it together.
 Glue one of the felt circles to the base of the flower, then smear a little glue onto the cardboard and place it on the middle of the felt disc which has the flower attached to it.
 Sew the brooch pin onto the remaining felt circle. Place this disc on top of the other disc attached to the flower, now you could just glue it but we are going to do a superb finish by using a small blanket stitch to sew around the edge... just like the one we learnt back in January.
 Now find a garment that is lovely enough to attach your fabulous flower corsage and then whilst you are thinking about that, off you go an look at the crafting loveliness that is Handmade Monday.
And while I think about it, let's all send get well soon wishes to Little Harriet who usually contributes to Handmade Monday and is in hospital utilising some heavy duty antibiotics to tame her CF... mind you, I think she may have taken her fabulous crochet in with her, so I am expecting great things from her in the weeks to come. :)
Felt
Buttons (optional)
Matches or a lighter
Shot glass
Cardboard


With my larger heavy duty zip, I left a couple of inches over at the end and rolled it up like a rose, and oversewed the edges and then sewed it through to the base.


Cut out two circle of felt using the top of the glass and then one circle from the cardboard using the base of the glass which will be smaller. Sew the larger flower into the centre of one of the felt circles.
Heat up your glue gun and dob your glue on the centre of your big set of petals, then place the smaller set of petals into the middle... then hold it in place of if you are doing several use a clothes peg to hold it together.


And while I think about it, let's all send get well soon wishes to Little Harriet who usually contributes to Handmade Monday and is in hospital utilising some heavy duty antibiotics to tame her CF... mind you, I think she may have taken her fabulous crochet in with her, so I am expecting great things from her in the weeks to come. :)