Monday, 2 January 2012

Sewing fills my days, not to mention the living room, bedroom and cupboards!

I like the Antiques Roadshow and often watch in the vain hope that some item in my house which I consider to be tat (a UK expression for rubbish) will turn out to be worth a fortune and set me up for life.  One of the things that I find particularly fascinating is old sewing boxes, especially when they contain things that we no longer use, like button hooks and darning mushrooms.
So I wondered what might happen if someone from my family took my current sewing box in to be looked at by Hilary Kay's grand-daughter.


"Ooh how exciting, this looks like an old plastic mechanic's box from Woolworths but we know it contains something rather different.
Indeed it does... it's your maiden great aunt and spinster of this parish's, sewing box, isn't it?


Well let's open it... on the top you will see a number of interesting items:
  •  Seven tape measures... she liked to be sure that she measured correctly (hmmm... doesn't always work though, especially if you read my last blog
  • two rather gruesome looking mattress needles... now when was the last time you sewed up a mattress, I expect she used them for blowing eggs or making felt ball bracelets
  • a stitch ripper, curiously unused... I expect she preferred to use small sharp scissors
  • a button hole foot - how sad it is not still with the sewing machine
  • thimbles - unused too, I understand she could never find one small enough to use successfully, look you can see the padding she stuffed inside it to try to make it fit
  • a pair of tweezers - for removing stubborn tailor's marking
  • a mini pompom maker... seriously I wonder why she did not use cardboard like normal people?
Now let's go to the next level, this is bound to be very telling about her.  Oh my goodness, what have we here, let's tip it out so we can get a good look?
  • Scissors - several types, dress making shears for cutting out fabric and never to be used on paper on pain of death, pinking shears for that zig zag finish and to stop fabric from fraying and a selection of small sharp scissors for embroidery, including a pair for cutting threads in Hardanger or drawn thread work
  • pins - now we have several different types again, shorter pins with glass heads for everyday sewing, longer pins with decorative heads for quilting and look in an old tobacco tin the Dorcas pins which are purely functional.  (Do you know why they are called Dorcas pins, they are named after a dressmaker in the Acts of the Apostles and this is the first time I have used my Religious Knowledge O level since I passed it nearly 40 years ago!)
  • needles - heavens this woman was prepared to sew anything!  We have everyday needles for sewing up a hem and re-attaching a button, small fine needles with tiny eyes to quilt with and look at these fine needles with larger eyes, these are for embroidery.  Now look in her needle case, there are a selection of crewel needles with large eyes and a blunt point, used to work a cruder form of embroidery or canvas work and also used to sew up knitting.  And then we have some more unusual needles, look at this one with the triangular point, this is a leather needle which pierces the fabric and look as these others, about half the size of a mattress needle but equally nasty looking, it is a dolls needles, used to go through soft toys and for tying quilts.
  • pencils - she must have used these to mark her fabric, one is a pen which marks and then disappears and the other is pencil used to place a permanent pattern onto fabric for embroidery
  • fastenings - obviously this woman would have had a separate button jar but she does have a selection poppers and, hooks and eyes and some self covering buttons
  • a chopstick - now that is odd but I guess she would use that for ensuring she got good pointy corners in her cushions and bunting
  • look at these rotary cutters and wheels - look how she has ensured that they are safely stored - she has plain blades for cutting through multiple layers of fabric when quilting, pinking wheels for a decorative finish and look she has small wheels for intricate work
  • finally there are lots of other little odds and sods from bias binding to brooch backs and hand cream to name labels.
I know that you are going to ask me to value this box... well I am going to be honest with you, it is irreplaceable, the owner would never be able to replicate its contents and I would not be surprised, if this was the object she might grab should her house catch fire!" 

So now you know what is in my sewing kit... what is missing from mine that you have in your box? And where do you keep your sewing accoutrements?

And just for fun, how do you fancy making an Etui Box for Mothers Day?  The good news is that there is no sewing, just loads of glue!
PS - I admit, there is even more tat that I found in there but was too embarrassed to show you... but I did find my missing ball of hairy twine!


Sunday, 1 January 2012

Roll on 2012 - The first tutorial of 2012

Well, Happy New Year everyone!  Just wanted to welcome all the new readers and to thank my old readers for coming back, what kept you all... we have loads to make this year, so let's get started.


Right, ladies and gentlemen, here is the first tutorial of 2012 and this is a purely selfish one with a practical purpose.  You may have noticed that last year I discovered that I had been lied to, sock knitting is not difficult, you do not need lots of little markers and actually although I say so myself, I make a jolly good fist of it but it has created a problem, where do I store all the DPNs (double pointed needles... the ones I like to use on the train to get a double seat as they look quite scary) and my circular needles?  Now if the thought of making a needle storage roll is making you yawn, then remember that it can also be used to store make up/paint brushes, crochet hooks and coloured pencils for children and yes, Marion - we are starting on the contents of your Summer fete stall right here.
You will need:
Two lots of fabric, I am using ticking and cotton - 13" x 11" for the main and 7" x 11" for the contrast
Wadding (if you are making a pencil roll you can leave this out but I want to protect my needles)
Cotton
Scissors
Tape measure or rule
Pins
Contrasting tape
Sewing machine
Iron and Ironing Board (well we are using fabric, so you knew it was coming)
Chopstick (pointy variety)
Firstly iron your fabric, as I am using a cotton ticking I will be cutting it out with pinking shears as you will remember that ticking is in training for the Olympic 100m and will start to run even before the starter fires his gun, you need two pieces 13" height  x 11" width and a piece of wadding cut to the same dimensions.  If you are working with longer needles or shorter pencils adjust the height accordingly.


Now take your contrasting well behaved cotton and cut out a piece 7" height x 11" width.
Fold over the top of your fabric using your 5/8" seam allowance, iron it firmly... now you can either do a simple running stitch or you can use an embroidery stitch to lift the fabric, if like me you are using a plain contrast.  Obviously it would not work with a floral pattern as the stitches would get lost. 


Now place your ticking face up (right side up) and place the contrast fabric on top, right side up and pin the contrasting fabric in place along the lower edge.


Taking out your tape measure or rule, mark an inch away from your 5/8" seam allowance with a pin or a fabric marking pen at the top and the bottom, repeat this every inch until you come to the right hand edge.  Now if you are confident, go ahead and sew a straight line down as this will make the casement for your items to sit in.
If you are still taming your sewing machine then we will baste or tack the fabrics together.  Using a contrasting cotton, double it and tie a large knot in the end and sew a line of running stitches from the top to the bottom, do not sew the end in when you finish but leave a tail of a couple of inches - these stitches do not have to be small or elegant; tacking/basting usually uses a longer running stitch they are used to hold fabrics together until you machine them in place.  When you have sewn everything in place, go to the knot end of your tacking and pull gently and this will remove the tacking, sometimes it does get caught up with your stitching so just tug gently until it comes out.
For my circular needles I am going to add a little more security - circular needles would have been put in Colditz Castle in WWII as they are great escapologists - so taking the tape, place it 2" above the top seam and catch it every inch, running in line with the seams you have just created, as we are going to use these loops to wrap our circs around whilst they are resting.


Now pin the wadding to the back of this piece and sew it in place with a 1/2" seam allowance.  Now with right sides facing each other, pin the fabric together.  Starting at the top six inches from the right hand side sew a 5/8" seam all the way around but stop four inches short of where you started.  
Cut across each corner and trim the excess seam, now turn your roll inside out and poke the corners with your chopstick and tease the corners out to make a good point.


Iron the roll flat and tuck in the open seam and pin it shut.  Finally, cut about of tape and fold it in half lengthwise, with the outside of your roll in front of you, on either the left or right hand side pin the tape half way down.  Now using your sewing machine foot, so that the thin side of your foot sits on the edge, sew around the roll again... use either a running stitch or show off again with an embroidery stitch.


Now fill it with your needles, brushes or pencils... and wonder why on earth you stored your needles in an old chocolate box, large glass vase or tool box?
And now it is confession time, remember how I tell you when measuring, to measure twice and cut once... well here is the proof that it is good to take your own advice.
Yes, I managed to cut it a good inch short and did not notice until I went to piece it together... I do hope that this is not a portent of things to come...

Monday, 26 December 2011

What RosMadeMe does next?

I have been sitting here this morning planning what to do with the blog  moving forward into 2012 and thinking about how much I have enjoyed writing the tutorials especially leading up to Christmas.
So I have decided to continue to do tutorials every week during the next year for all the major holidays and special occasions which happen in the UK, the US and Canada and all points East and West.  My plan is to start posting up these up from about a month before the big occasion in order that you get enough time to complete them.


I am going to fill the gaps between the big occasions with a back to basics series.  You will know by now that I was lucky enough to be taught how to knit, sew and embroider by my mum and my primary school but I realise that not everyone was that lucky so we will do a bit of a crash course to make sure that you will be able to make the things that I come up with for the tutorials.
I am hoping to cover embroidery, knitting, crochet, sewing, quilting, a touch of origami and other papercrafts... but despite the picture above we will not be tackling taxidermy this year!


If you have a topic or a project that you would like covered next year, pop it into comments and I will try to schedule it in.


Now back to your Christmas leftovers everyone :)

Saturday, 24 December 2011

Merry Christmas Everyone!

I can only imagine how many of you are currently feeling like this... still with presents to wrap and the turkey to contend with... So I just wanted to wish you all a wonderful Christmas and hope that you all get even more than your hearts desire.


I also wanted to thank you all for reading the blog, I get so excited when I see that I have readers all over the world and hope that wherever you live you have a happy, safe and most of all a peaceful Christmas.


And here is one of the first carols I remember learning back in the time when I got to play second shepherd, sans tea towel and dressing gown way back in 1963... Emmylou Harris singing, Away in a Manger


Talk to you all again soon :)

Monday, 19 December 2011

Kamikaze Christmas Tree

I don't know about you but my Christmas decorations carry so many memories of my life and I love opening up the bags and boxes each year and remembering where I got them and why.
Now to be really honest, if I used more than 50% of my decs on the tree you would not be able to see a single branch, yet every year I buy one little something to put on there.  However this year I was not going to buy a tree as I still have not found a permanent job and I was going into mega economy mode.  So you can only imagine how thrilled I was when a friend asked me to stay in on Friday morning and arrived with a Christmas Tree in the back of her Mini.  However what she did not tell me was that the tree was suicidal, it leapt off the table twice before I realised that it did not have a root ball... Deborah came round with another stand... we set to work with secateurs and a bread knife... who needs a man, eh?  


I got it decorated again and it made another break for it, so I jammed it in with my embroidery thread tin... I am a resourceful woman... it is now held in there with a brick but I have had words with the tree and it knows that if it makes another break for it, it becomes another part of the Christmas tradition - The Yule Log!
I was going to make do with my little tree which I bought back in the 1980s when I had my flat in London... I still have all the decorations and even the angel with the bendy wings.  When I started to buy real trees, I used to bring this tree to work and share out the choc decorations after Christmas... except for the year of the IBM mice.  I got a phone call from the office to tell me that whilst we had been off over the hols, mice had hit the Exec Office at IBM and had climbed up the tree to nibble into the chocs... and no, they were the four legged rather than two legged variety!
This little group are rather special, the tree on the left came from an Italian cookery holiday in Limone on the Lakes and the tree on the left was a prezzie from sister when she took my aunt to Venice.  And I made the fairy in the middle the Christmas my mum was diagnosed with terminal cancer, it is thanks to her that I knit and sew... not a bad legacy to inherit.
I always smile when I see these Russian Matryoshka dolls which were brought back from a Moscow market when my friend Lisa was helping to set up the KPMG offices in Moscow... not only did she do that but she also organised her wedding from there.  It was one of the best celebrations I have ever been to, best of all was her present to her husband Liam - it was a tandem - he always complained that he had to wait for her when they went cycling together... she thought this was the most elegant solution :)
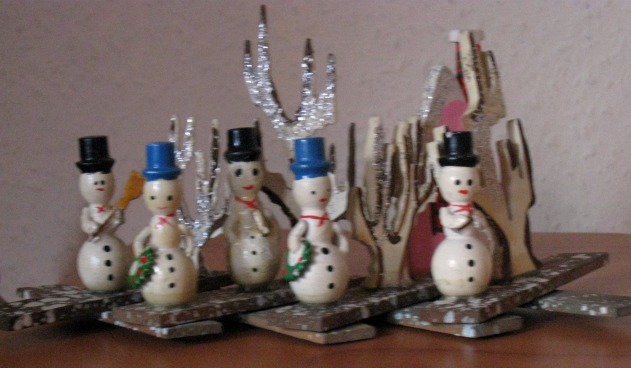
These are my oldest decs, they are older than me and when I was little they meant that Christmas was really coming.
Now if you look down at the bottom of the fireplace, you might recognise my Christmas Salt Dough Sheep, which I made 15 years ago... who says salt dough doesn't last?
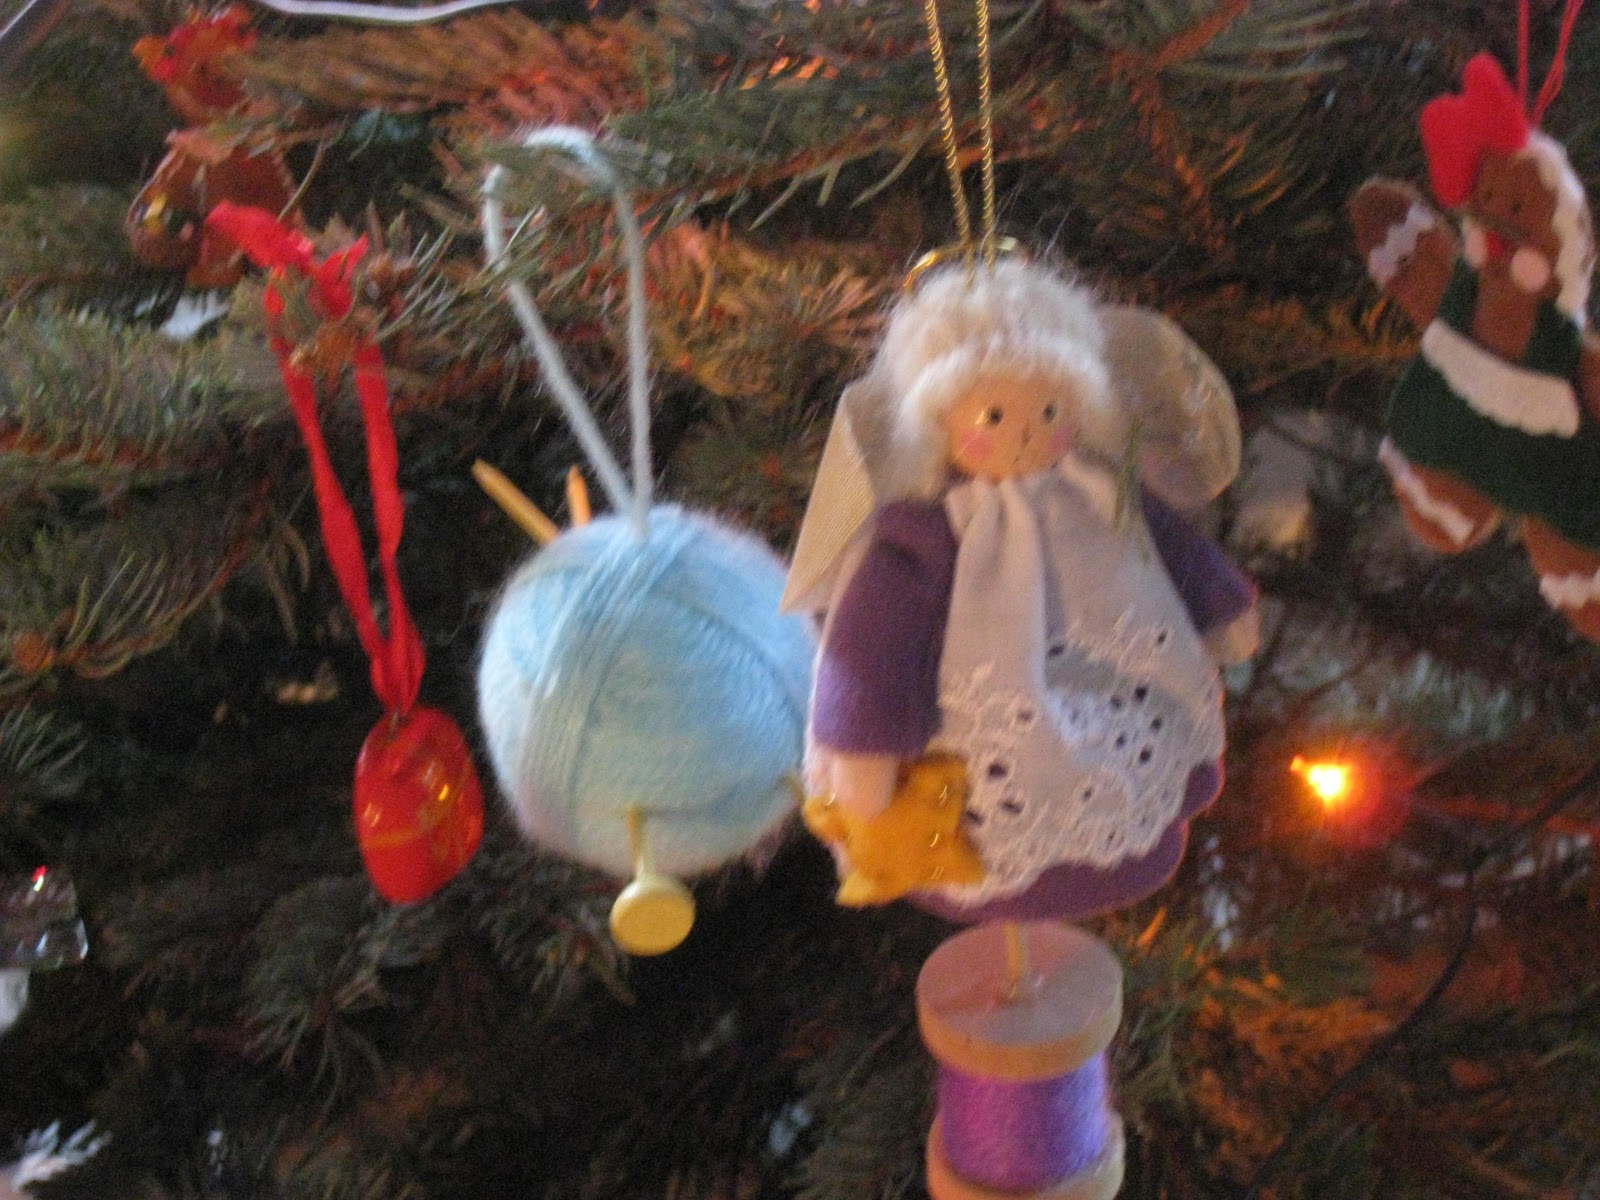
Finally, no crafter's tree is complete without the tools of her trade and here is a cotton reel angel, my needles and wool and sitting in the background is another ancient salt dough parcel.

Now off you go to look at Wendy's Handmade Monday and see what everyone else has been up to in the week before Christmas.

Thursday, 15 December 2011

Not Tea Again, Surely - Christmas Tutorial no 16

I really cannot believe this but yes, this is another tutorial to do with tea!  This is something that you can get the children to do for grandparents and aunts and uncles... it is a real Blue Peter coverall!  And no it is not the infamous Advent Crown, complete with candles, coathangers and tinsel... the Fire Prevention Officer's nightmare.  We are going to paint up a Christmas morning tea set:


You will need:
Small plain teapot, milk jug, cup and saucer or mugs (I picked up mine at the local factory shop for £7.50)
China Paints - I use Pebeo as I have always been pleased with the results
Paint brushes, sponges (use non-scratch dish sponges) and stiff card
Old plate to act as your palette


Wash your china to ensure that all the sticky labels and grease are removed, dry them thoroughly.
Decide on your design - you can sketch it out on your crockery with Chinagraph pencil if you want to use it as an outline.  Some ideas that you might like to use are snowmen, angels, bells, candles....  I was going to use mittens, scarves and bobble hats so the set can be used throughout the Winter and not just at Christmas but frankly they looked like Rorschach blots when I painted them.  If you want to change the colour of your china, take a small amount of sponge, dip it into the paint and stipple it all over the china, give it five minutes to dry and then you can start to paint on your design.  If like me you cannot paint well enough to forge a Constable, then cheat... think Emma Bridgewater and use a stencil and sponge dipped in paint, you can hold it in place with small scraps of sellotape... stars, hearts and polka dots will work really well.  Another idea I had was to find black china and paint snowmen as even I can paint circles...
Paint on your design, the paints are usually tacky dry after a few minutes, if you make a mistake, wipe it off with a wet tissue and start over. Don't forget to get the children to sign it on the bottom, if only to help out the experts on the Antiques Roadshow of the future!


The china will need to fully dry for 24 hours. Your next step is to bake the china for 35 minutes at 150°C (300°F or Gas Mark 2) in your oven... now come on you have seen my baking sheets, did you really think I would show you the inside of my oven?  Dream on, readers.


The great thing is that your work is now dishwasher proof and going to be used very regularly by proud grandparents.


I want to say a very big thank you to Judy Balchin who nearly 15 years ago did a workshop on china painting and I have never forgotten what fun she made that day! 


Confession time - I had this tutorial written on Sunday... but it just wasn't up to snuff, you see I cannot paint or draw and my efforts looked simply awful and then it came to me to use a stencil and sponge to cover up for my deficiencies.  So if anyone wants a real challenge, teach me to paint or draw something that is recognisable next year... go on, I dare you!

Sunday, 4 December 2011

Cheap, cheery and chic - Christmas Tutorial 15

Right, I am not going to tell you how tough life is at the moment, so let's look at some ways to save a little bit of money over the Christmas holiday, which means this week we will make gift bows, candle holders and place settings.
Firstly the gift bows, you will need:
An old map book (charity shops are brill for these) or magazines - or double sided paper
A stapler
Glue
Scissors
Paperclip
Cut out 9 strips 3/4" wide and 11" long (about the length of a magazine page), then cut an inch off three of the strips and two inches off another three strips.
Fold the strips into a figure of eight and staple them together.
Lay the strips on top of each other and pop a tiny bit of glue in the centre of the strips.


Now repeat this for the next two groups of paper, leaving one of the small pieces aside.


With your left over small piece make a loop, trimming off the excess and glue it together holding it in place with a paper clip.
Pop the final loop into the centre with a dab of glue and there you have a cheap and cheerful bow, this looks brilliant if you wrap your gift in either newspaper or brown paper. If anyone challenges you either raise your eyes and mutter global warming or ask them if they do not understand irony and look disappointed!


Now, onto the candle holders, I first used these for my first Christmas dinner in my house and over 10 years later I still use them! You will need:
Empty jam jars
Shoe whitening
Stencils or pastry cutters and cardboard
Wash the jars, dry them and put the lids somewhere safe.


Use the shoe whitener pad to create decorations, just using it on its own without stencils and the circles will make a flower.   Or if you are getting small children to do this when they are on hols, just dobbing the foam top of the whitener over the glass will look like snow.  If you do not have any Christmassy stencils then use your pastry cutters to create some by tracing them onto the card and cutting them out.  Pop the stencil against the glass and dob the whitener onto the jam jars.
I put these all over my dining room to light it for Christmas Day, they look lovely with the tea light candle behind them and the great thing is that you can wash them after and use them for jam.  The other good thing is that the candles are really safe in the jars especially if you have ever suffered from a tea light flaring up, but do remember to always snuff out candles if you leave a room.


And finally, an idea that I had for place mats, which I will be making for myself later and will post pics... using mirror tiles (I found these at Wilkinsons for £4.95 for four) make sure that the edges are rounded/bevelled as I do not want to be sitting with you in Casualty on Christmas Day.  Cut out four small squares in felt and glue them onto the corners so that the tiles do not scratch your table.  Stencil or paint a decoration in acrylic/poster paints around the edge or in just one corner. Now as we are being very thrifty, you will be able to wipe the paintwork clean and recycle them for Easter, Thanksgiving, birthdays and other special occasions.


Now off you go and take a look at Handmade Monday to see how all the other crafters are preparing for Christmas.